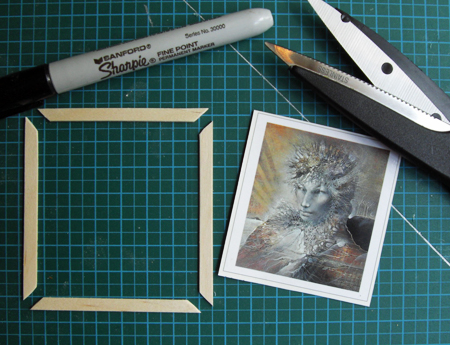
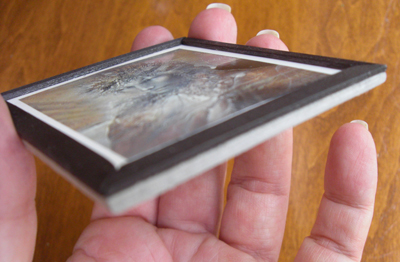
My picture is cut from the back of a calendar featuring art by Susan Seddon. It is printed on nice, glossy paper stock. (picture is called Artemis)
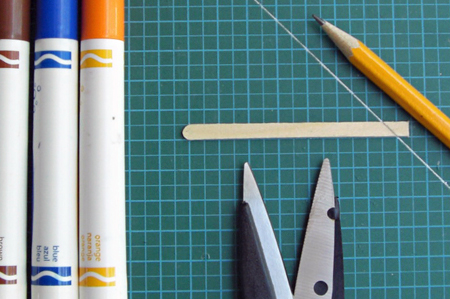
Start by selecting the straightest coffee stirrers and lightly sanding the surfaces. Then measure them against the size of your picture. You will be marking the shortest side of the 45 degree angle to measure. I drew the entire angle onto the wood with the pencil, then cut it in one quick cut with the scissors (I suggest sharp kitchen shears).
Lay the frame pieces over the picture and test fit and the angles. You may need to sand the angles a bit to close up any small gaps in the corners.
Once you are happy with the fit, colour in the wood with your magic marker or Sharpie. It might take two coats. You can paint these, but a the magic marker makes a quick job of it.
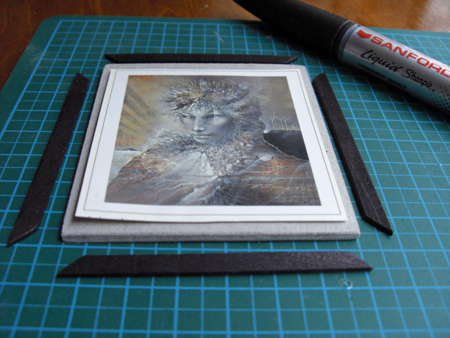
You don't have to colour in the side that will be glued to the print.
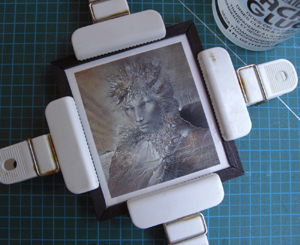
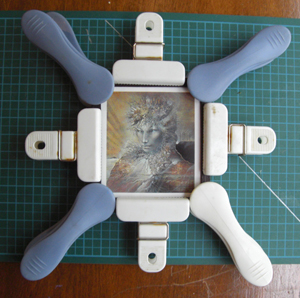
Cut a piece of thick cardboard with your Exacto knife to fit the outside dimensions of your frame. Glue the picture to the cardboard, then glue the frame pieces over both of those layers. Use your clips, laundry pegs (or whatever you have at hand) to make sure the pieces are clamped well as the glue dries.
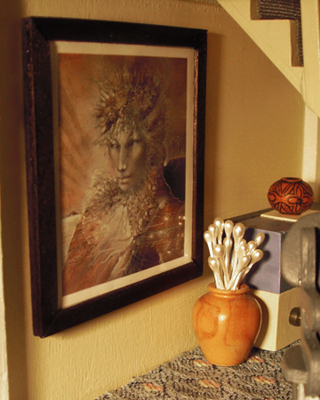
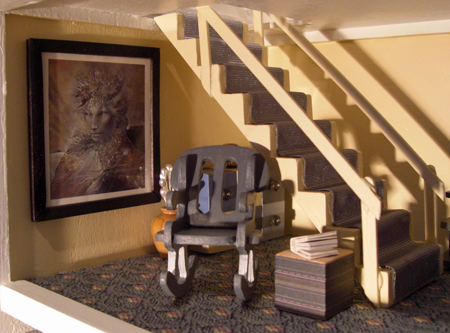
After the glue dries, colour the sides of the finished work with the same magic marker or paint. I chose a thick piece of cardboard, but you can go with a thinner piece, although a thick piece will protect the framed print from warping. I used Blue Tack to stick the finished piece to my dollhouse wall.
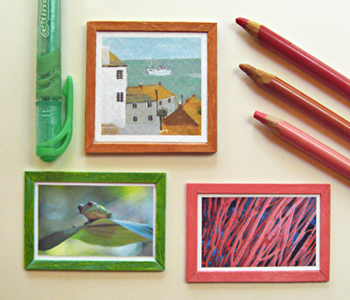
Here are a few other pictures I framed for the dollhouse. (once again, sorry about the way my el-cheapo camera bows straight lines) I used a magic marker to colour the frame for the green frog picture.
To colour the brown and pink frame, I used my Conte pencils, which are basically chalk pencils. I think you could use any chalk, but these come in nice colours, and I have them at hand.
After you've cut and made sure your coffee stirrers are ready to glue, lightly wet each piece, then quickly scribble some colour on it, then rub it in with your fingers. They dry in seconds with a nice matte finish. I haven't tried this, but I think watercolour pencils would be good to use as well. The idea is to have something quick-drying to make a neater job than paint.
I sourced the seascape scene from the back of a greeting card made from textured stock. There are some lovely small prints on the back of cards, so keep an eye out for them!